
Last updated November 15, 2026
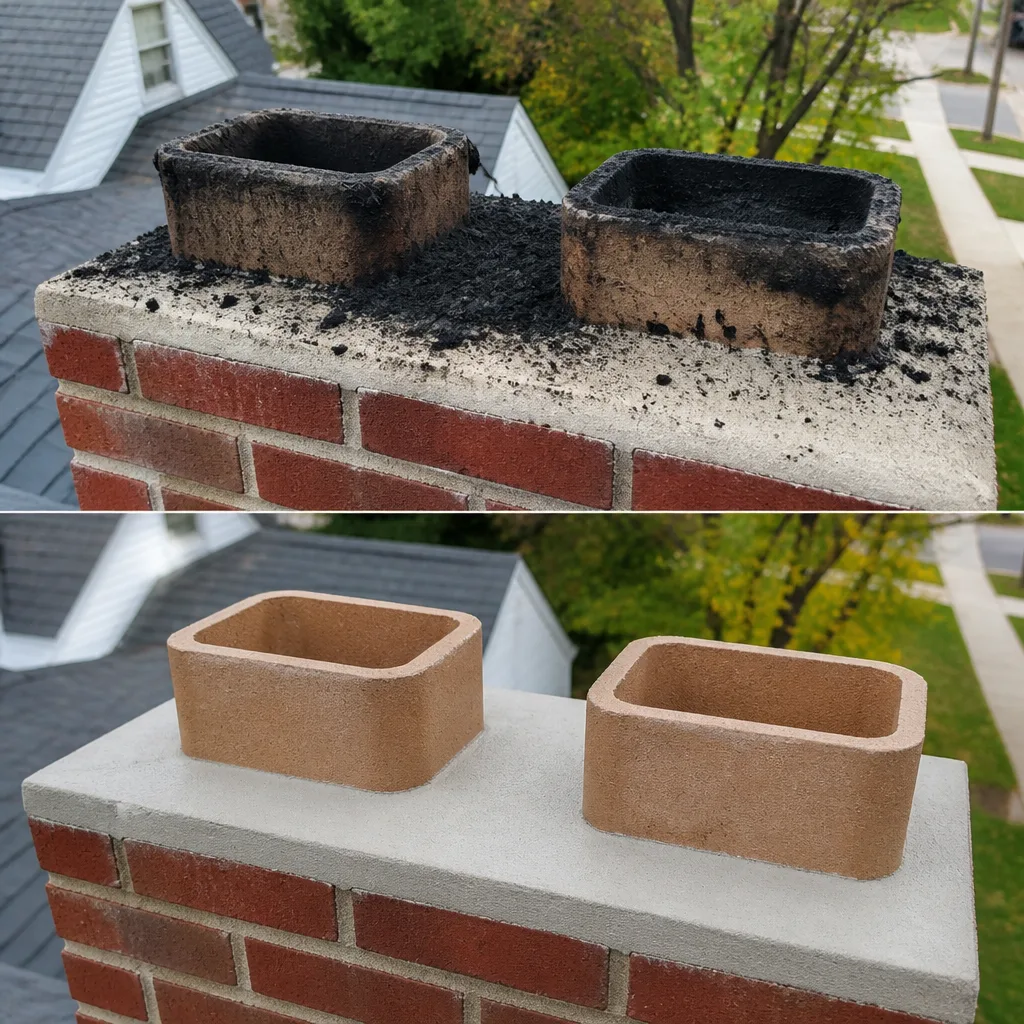 Sweep & inspection
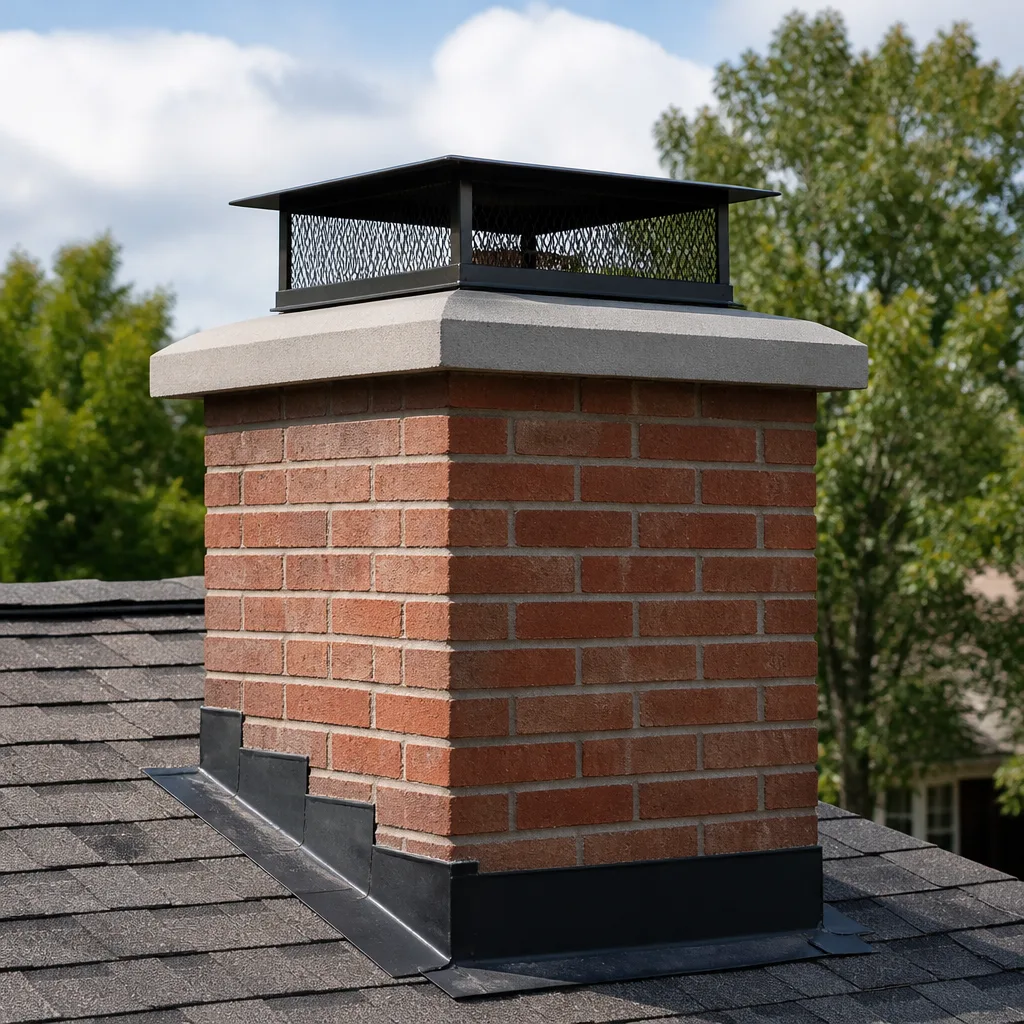 Caps & crowns
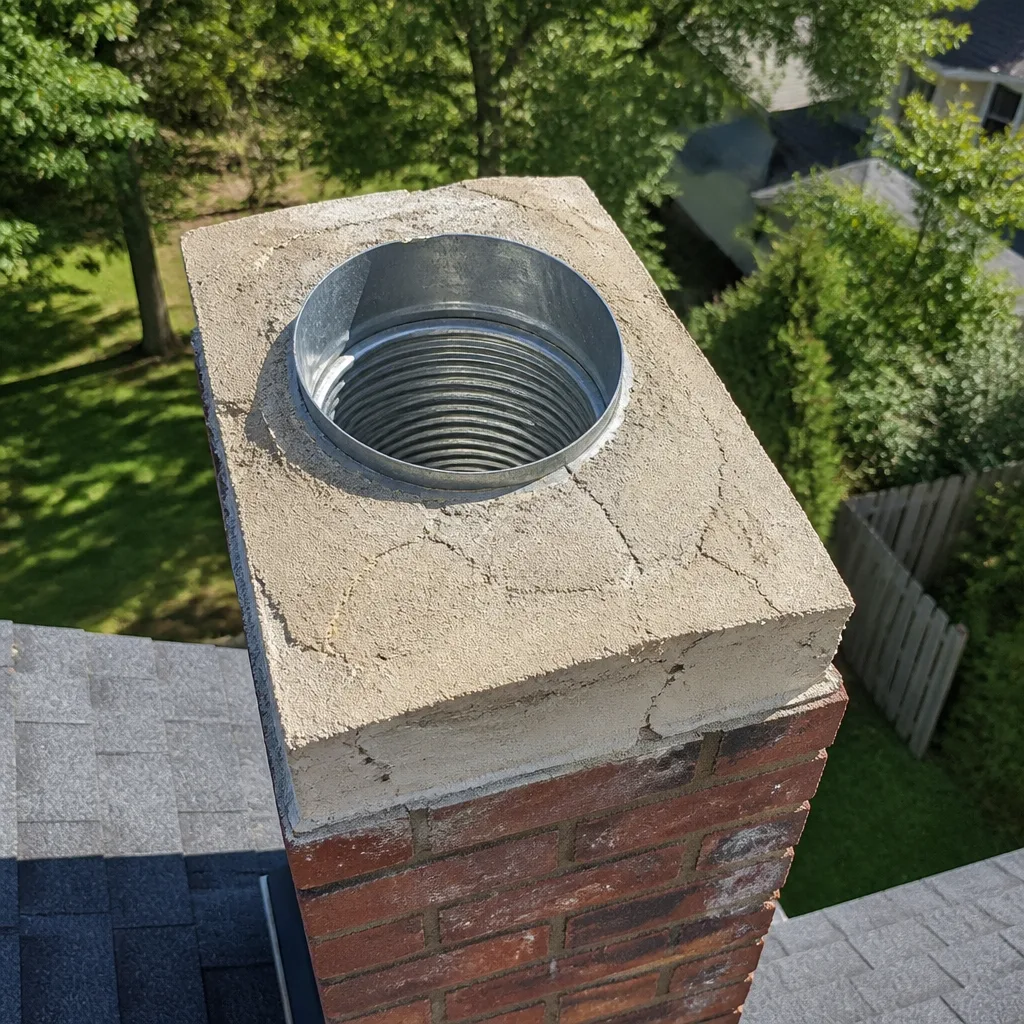 Flue relining
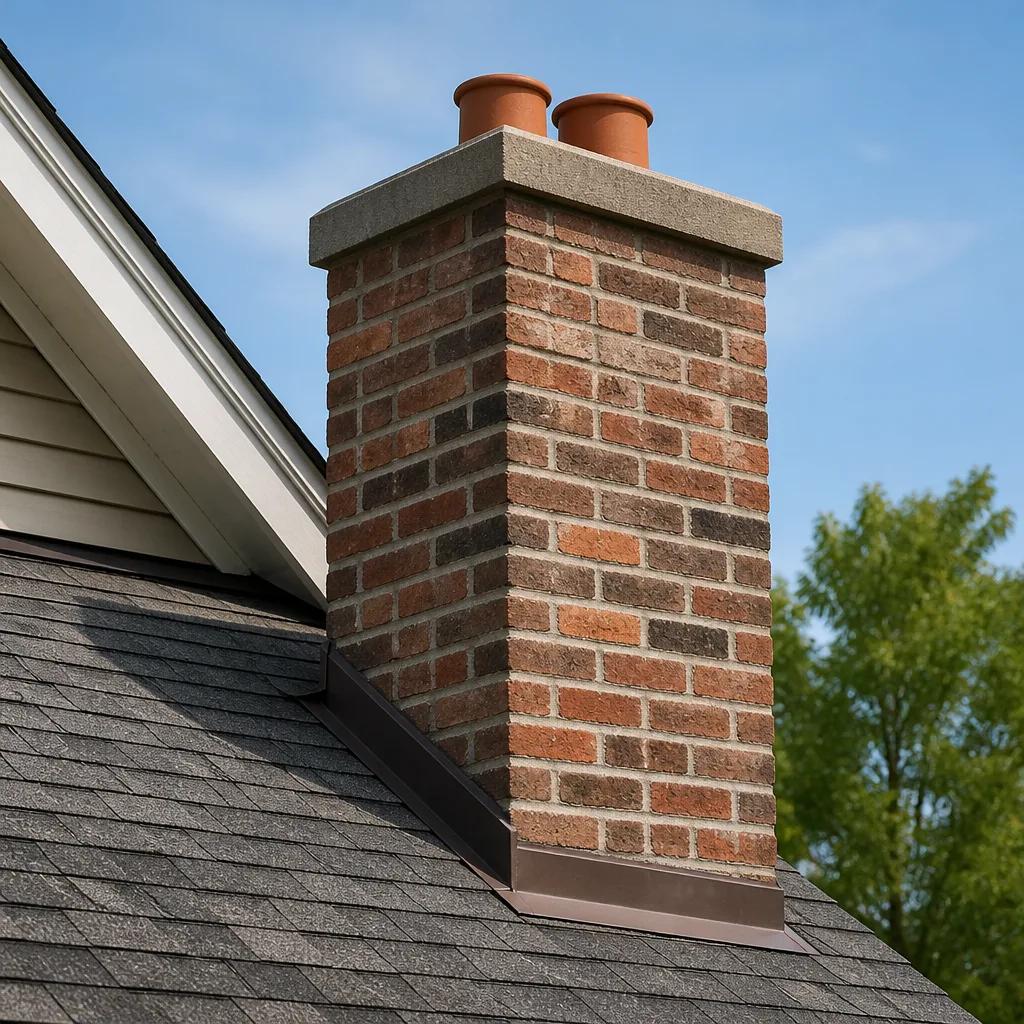 Masonry repair
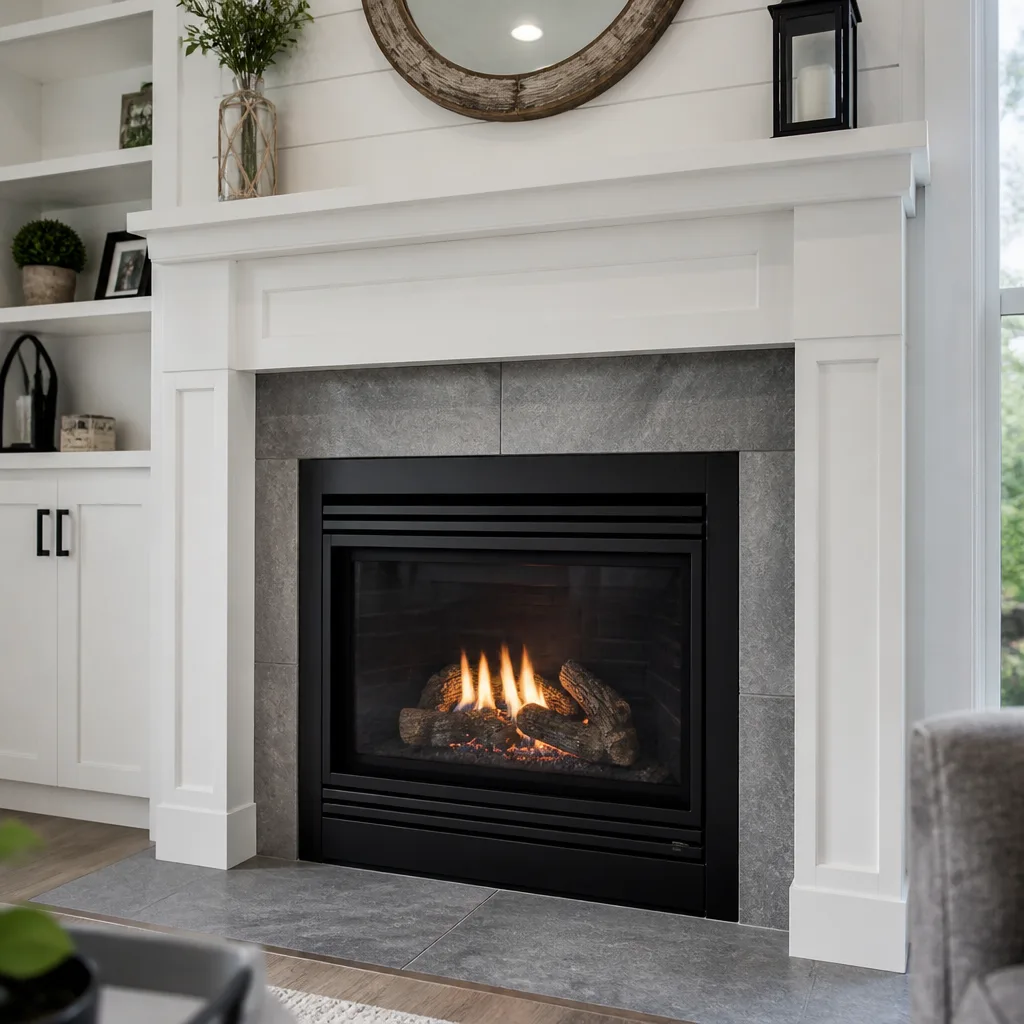 Gas fireplace service
Level 1 sweep and inspection to the NFPA 211 annual standard - flue, crown, cap, and flashing checked and photographed
Chimney sweep logs do not sweep chimneys. They loosen some creosote - which then falls where a brush and vacuum still have to collect it.
Chimney Sweep Maintenance Checklist for North Charleston Homeowners
Most chimney maintenance checklists start with “schedule a sweep,” and that’s the first mistake. By the time a brush goes down the flue, the conditions that make sweeping risky have already had months to develop: a cracked crown, a loose cap, a damper rusted open, or creosote that’s baked into a glaze nothing will scrub off. A real checklist runs in the opposite direction. You inspect from the top down and the outside in, document what you find, and only then decide whether you need a cleaning or something more. This guide gives you that sequence, built around how chimneys actually fail in North Charleston’s heat and humidity, and it covers everything from a five-minute walkaround you can do yourself to the point where you should stop and call a specialist.
Quick Answer
A chimney maintenance checklist for North Charleston should be organized by component, not by month. Check the cap and crown, then the flashing, then the firebox, damper, and flue, in that order, every spring before the rainy season and again in early fall before your first fire. Schedule a professional sweep and inspection once a year if you burn wood regularly, and bundle a Level 2 camera inspection any time you spot staining, rust, crumbling mortar, or a damper that won’t seat.
Styles & brands we work with
- Sweep & inspection
- Caps & crowns
- Flue relining
- Masonry repair
- Gas fireplace service
Table of Contents
- Why the Order of Your Checklist Matters More Than the Items
- Step 1: The Exterior Checklist (Cap, Crown, Flashing)
- Step 2: The Interior Checklist (Firebox, Damper, Flue)
- Humidity Damage: What to Look For After Every Rainy Season in North Charleston
- What to Document Before You Call Anyone
- How to Tell If Cleaning Will Suffice or If You Need a Level 2 Inspection
- Seasonal Timing: Why the North Charleston Calendar Shapes Your Checklist
- When to Call a Professional
Why the Order of Your Checklist Matters More Than the Items
Think about what a sweep actually does. A brush removes creosote from a flue. It doesn’t tell you the flue is sound, that the crown is shedding water away from the masonry, or that the damper will close when you want it to. If you clean first and inspect later, you’ve spent money on a sweep that may need to be repeated the moment a repair is found. That’s why we treat your chimney as a system, not a single sweep, and why the maintenance sequence starts at the top of the house and works downward. The cap and crown sit above everything else, so a failure there sends water down into the flue you just cleaned.
The sequence that makes sense for a North Charleston home is:
- Chimney cap: Is it intact, correctly sized, and free of debris?
- Crown: Are there cracks, spalling, or gaps where the crown meets the flue tile?
- Flashing: Where the chimney meets the roof, is the metal or membrane sealed and lifting cleanly?
- Masonry and mortar joints: Look for crumbling mortar, white staining, or loose bricks.
- Firebox and damper: Any cracked firebrick, rusted damper, or debris piled up?
- Flue: Can you see glazed creosote, soot buildup, or gaps in the tile liner?
If you find a problem at step one, you know before you call that a sweep alone won’t solve it. That’s the diagnostic value of the order. Our technicians have up to 14 years of experience and we’ve walked thousands of flues in this market; the callers who arrive with an organized list of observations get a faster, more accurate answer than the ones who say only “it smells funny.”
Step 1: The Exterior Checklist (Cap, Crown, Flashing)
The exterior is where North Charleston chimney problems start, and it’s the part you can inspect yourself from the ground with binoculars. A Denali Chimney Sweep visit always begins here because water is the enemy before fire ever is. Rain finds the smallest gap and runs straight down the inside of a masonry chimney. In a region with long, wet summers, a neglected cap or crown is the fastest path to a flue that’s wet, cold, and prone to spalling.
Work through these checks from the ground up:
- Cap: Is your chimney cap present, and are the mesh screens intact? A missing cap lets rain, birds, and debris straight into the flue. A rusted-out mesh is nearly as bad.
- Crown: Look for visible cracks where the concrete cap meets the flue tile at the top. Hairline cracks are normal; wide cracks that catch a fingernail, or a crown that looks flaky or crumbly, are not.
- Flashing: Where the chimney meets the roof, look for lifting or missing metal, or dark staining on the roof deck below it. Worn flashing is one of the most common leak points in older homes.
- Mortar joints: White, chalky efflorescence on the brick means moisture is moving through the masonry. Crumbling mortar joints are a bigger structural signal.
- Spalling bricks: Bricks with faces popping off are telling you water is freezing inside them or has been soaking in for a long time.
If your cap needs replacing, the material matters. Gelco chimney caps are known in the trade for precision fit and durability, and a properly sized cap is the difference between a chimney that sheds water and one that funnels it. A cap that’s too small or loose on the flue is worse than no cap at all, because it moves in wind.
Step 2: The Interior Checklist (Firebox, Damper, Flue)
Before you light a fire, spend ten minutes with a flashlight and look up. The interior inspections are where you catch the problems you might otherwise find out about at the wrong time. We always check here before lighting a fire at home, and it’s why our chimney sweep visit ends with a camera look up the flue, not just a brush.
Run this sequence:
- Clear the firebox: Remove ash and any leftover wood from last season. A pile of ash can make it impossible to see cracks in the firebox floor.
- Check the firebrick: Look for cracked, loose, or missing firebrick and missing mortar joints. Hairline cracks in the surface are common; cracks deep enough to see through or bricks pulling away from the wall are not.
- Test the damper: Open and close it fully. It should move smoothly and seat flush. A damper that’s rusted open or won’t fully close is letting your heated air escape up the flue, and in a damp climate it also lets humid outside air in.
- Look up the flue: With the damper open and a bright flashlight, look for heavy soot, glazed creosote, gaps in the tile liner, or floating debris (the “chimney sweep’s pillow” of creosote is a real failure mode).
- Check the smoke chamber: The sloped area above the damper should be clean, with no crumbling refractory mortar or obvious gaps.
If anything at step three or four concerns you, stop and call for a professional look. The flue is one area where a couch inspection can get you most of the way, but a camera inspection is what actually proves the inside of the liner is sound.
Humidity Damage: What to Look For After Every Rainy Season in North Charleston
North Charleston’s summers are long, warm, and wet, and that combination is harder on a chimney than cold is. The air itself carries moisture that the brick and mortar pull in, and each hot day drives it back out. The cycle repeats all summer. By fall, the masonry has been working harder than the fire ever asked of it. That’s why we tell homeowners to inspect after the rainy season, not just before the first fire.
After a wet season, check for these signs:
- Efflorescence: White, powdery staining on the brick or in the firebox. It’s a moisture signal, not cosmetic.
- Rust streaks: On the damper, the firebox grate, or the cap. Rust means water has been sitting where it shouldn’t.
- Musty smell: A damp, closed-up smell from the firebox after summer is a sign the flue has been drawing humid air. Sometimes a simple cap and damper fix closes it off.
- Soft or crumbly mortar: Press your thumb into a mortar joint in the firebox; if it gives, the joint has been compromised by moisture cycling.
- Flaking paint or stain on the exterior brick: Often the first visible sign that moisture is working its way out through the wall.
What do you do with this? Note it. Photograph it. Compare it against last year’s photos. If a small white patch is in the same place it was last fall, it may be stable. If it’s bigger or has spread, that’s the kind of observation a technician can act on before a small repair becomes a structural one. We see this pattern often in North Charleston, and the homes where it was caught early are the ones that needed only repointing or resurfacing rather than a full reline.
What to Document Before You Call Anyone
The single most useful thing you can bring to a service call is a short written record. It converts “my chimney seems off” into something a technician can diagnose. In our experience the difference between a five-minute confirmation and an hour of back-and-forth is usually in the homeowner’s notes. We ask for four things:
- Photos of the exterior: One wide shot of the chimney from the ground and two or three close-ups of the cap, crown, and flashing. Phone photos are fine.
- Photos of the firebox and damper: A shot with the damper open and one with it closed.
- Notes on behavior: When did you last have it cleaned? Does smoke roll into the room on startup? Does the damper stick? Does the chimney smell when it’s not in use?
- A short history: What fuels you burn (wood, gas, wood stove, insert), and whether anything has been repaired since the last visit.
That record also protects you. When a technician points to a crack or a crumbling joint, you can compare the photo you took three months ago. Nothing gets recommended without camera evidence, and the camera photos belong to you. “Inspect first, repair right, no guesswork” is the way we work, and documenting your own baseline is the first step of it. If you’ve been told by an inspector that your flue needs attention, bring their report with you. It helps us line up the correct inspection or repair service from the start rather than repeating work.
How to Tell If Cleaning Will Suffice or If You Need a Level 2 Inspection
The clean-versus-inspect decision comes down to what you can see and what you can’t. A basic cleaning removes soot and creosote. A Level 2 inspection adds a camera run of the entire flue, the smoke chamber, and accessible portions of the chimney, and it’s what tells you whether the liner is intact. That’s a different job, and it’s worth bundling in when you’re already paying for the visit.
Bundle a Level 2 inspection into your chimney repair visit if any of these are true:
- You’ve had a chimney fire, even a small one you put out yourself.
- You’re converting fuels or adding a stove or insert.
- You’re buying or selling the home.
- You’ve noticed dark staining, puffing smoke, or a damper that won’t close.
- It’s been more than a year since the last inspection.
- You’ve had any masonry work, relining, or a new cap installed since the last visit.
If none of those apply and the flue looks clean from the firebox, a standard cleaning is usually enough. The camera inspection takes the guesswork out of a recommendation and lets us tell you honestly when work can safely wait. We’d rather tell you to skip a repair than sell you one the photos don’t support.
Seasonal Timing: Why the North Charleston Calendar Shapes Your Checklist
Chimney maintenance in North Charleston doesn’t follow a four-season calendar, and a checklist that assumes a long, cold winter is the wrong tool. Here the fire season is shorter than the wet season, the humidity runs high for months, and the biggest fire risk can be the creosote you built up last winter and left sitting through the summer.
A realistic rhythm for a North Charleston home looks like this:
- Spring (after the last fire, before summer): Full exterior checklist. The rainy season is coming; fix crown, cap, and flashing issues now.
- Mid-summer (after heavy rain periods): Walk the exterior again, note efflorescence and any new staining, and take photos for comparison.
- Early fall (before the first fire): Interior checklist and a professional cleaning with a camera look up the flue.
- Anytime: If smoke rolls into the room, if you smell a hot, acrid odor, or if the damper fails, stop using the fireplace until it’s inspected.
If you’re in an older home in North Charleston, the masonry may be the original mid-century work, and this rhythm matters more. We work with professional-grade materials specified by manufacturers for exactly this climate: HeatShield flue resurfacing for damaged liners, DuraFlex flexible liner systems for full relining, and supply lines like Olympia Chimney and Famco for the components around them. Those brand choices are not marketing; they’re the materials installers specify when the goal is a repair that holds.
Common Mistakes to Avoid
- Cleaning before inspecting. A sweep without an inspection can miss a cracked crown or a loose damper, and you may end up paying twice for one problem. Run the exterior checklist first.
- Skipping the cap in humid weather. A missing or loose cap lets humid summer air cycle down the flue and condense on the cool masonry, which is a quiet way for a chimney to slowly fail. Replace it rather than ignore it.
- Treating efflorescence as cosmetic. White staining is a moisture signal. If it’s spreading, the source is a leak, not a paint problem.
- Burning soft or unseasoned wood to “get through” the season. It puts more creosote in the flue. A professional-grade supply line like Olympia Chimney is not overkill when it prevents a costly reline.
- Ignoring the damper in an older home. A damper that won’t close leaks your conditioned air up the flue all summer and pulls humid air back in. It should seat flush.
- Assuming “it’s been swept” means “it’s inspected.” Level 1 and Level 2 inspections tell you different things. If your last visit didn’t include a camera, ask whether it should.
- Trying to solve structural issues with a brush. Glazed creosote, cracked liners, and crumbling fireboxes are repair problems, not cleaning problems. Call a chimney specialist before you call a general handyman.
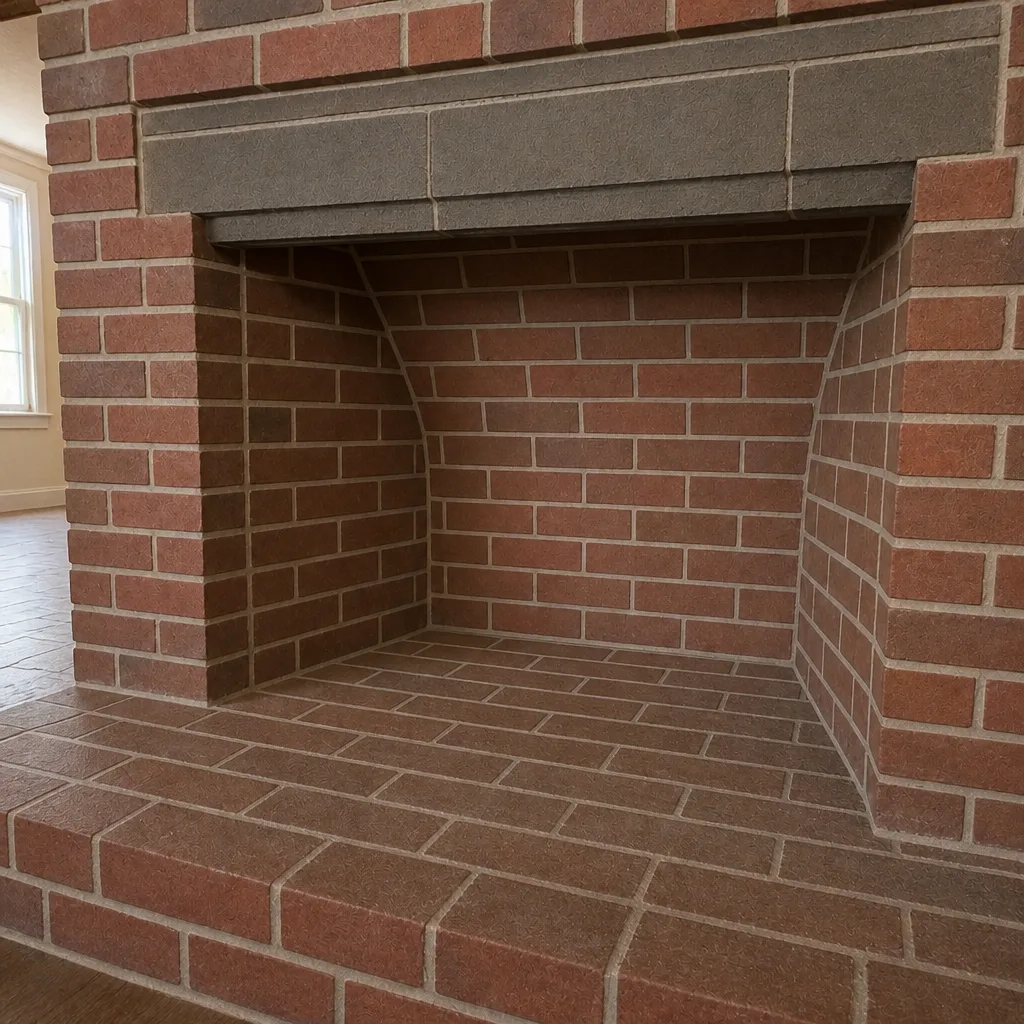
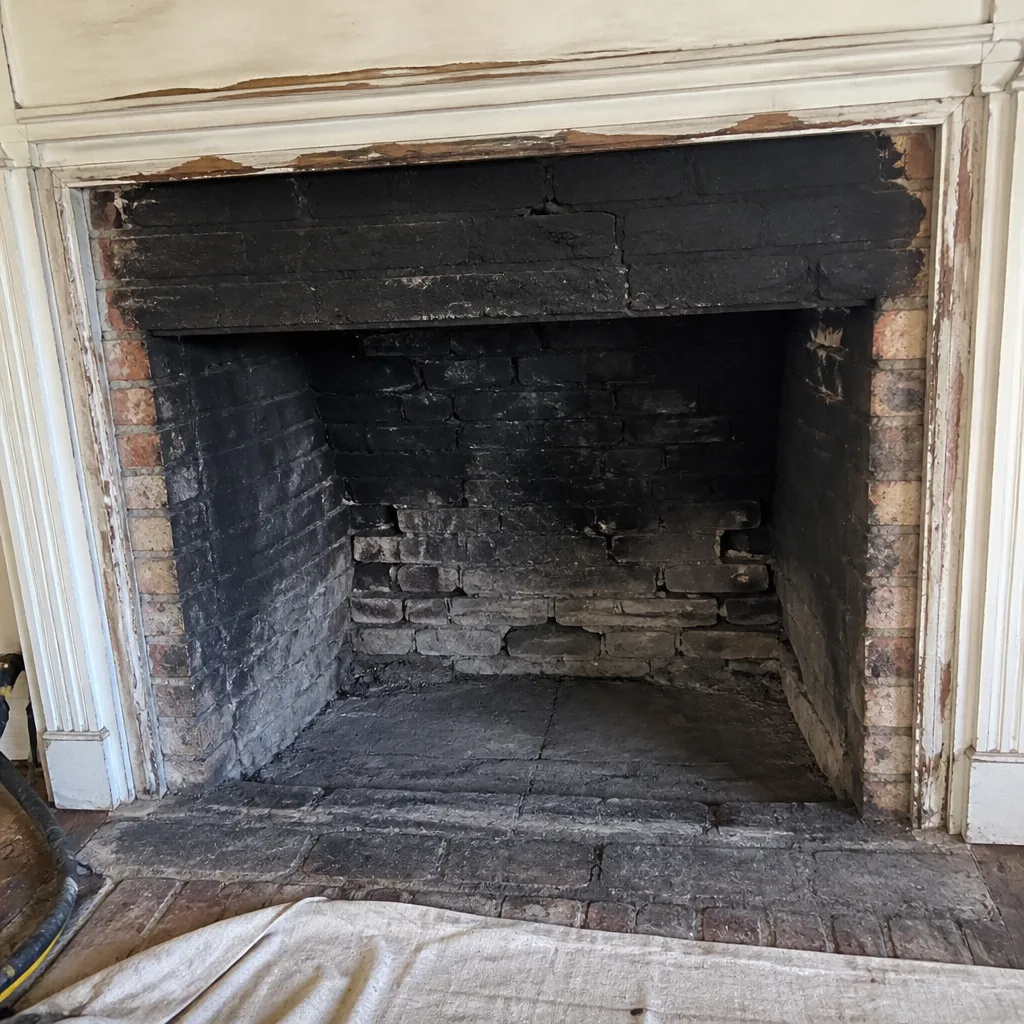
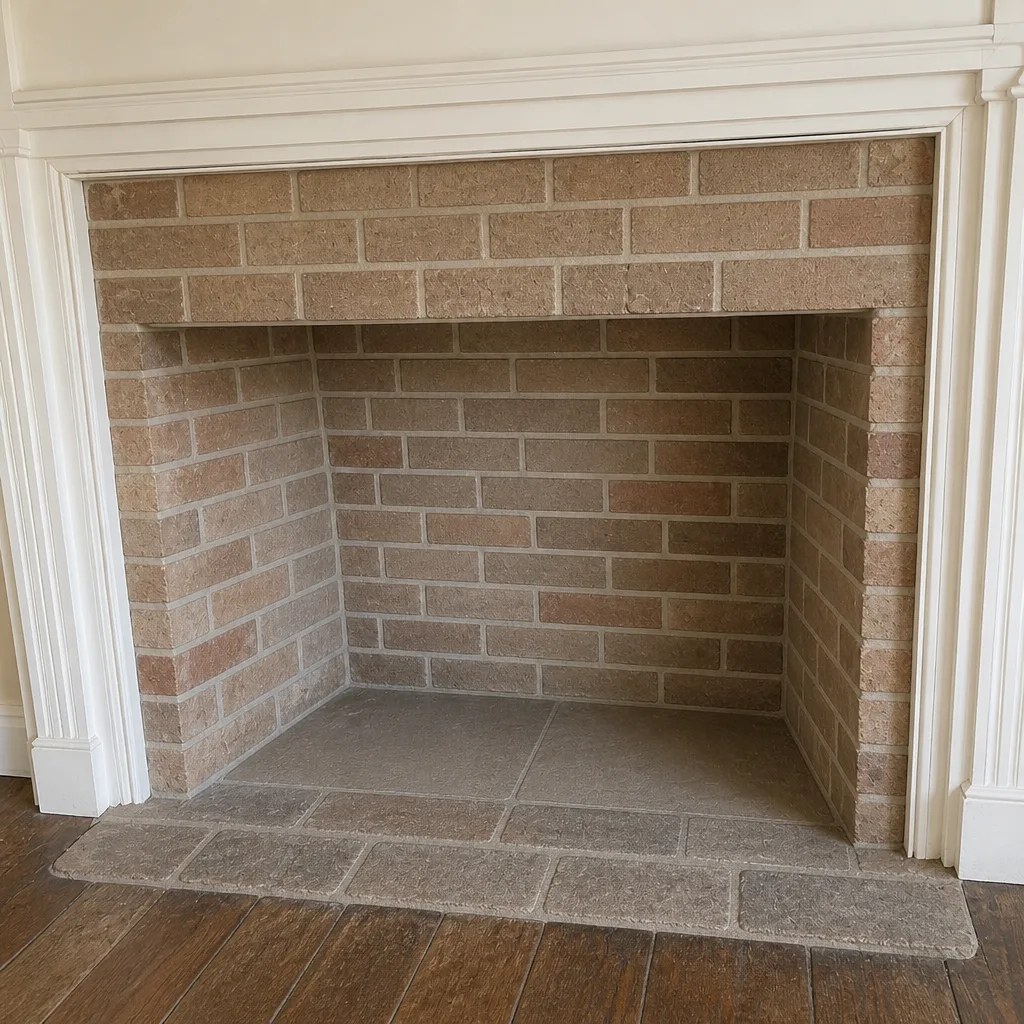
See the difference
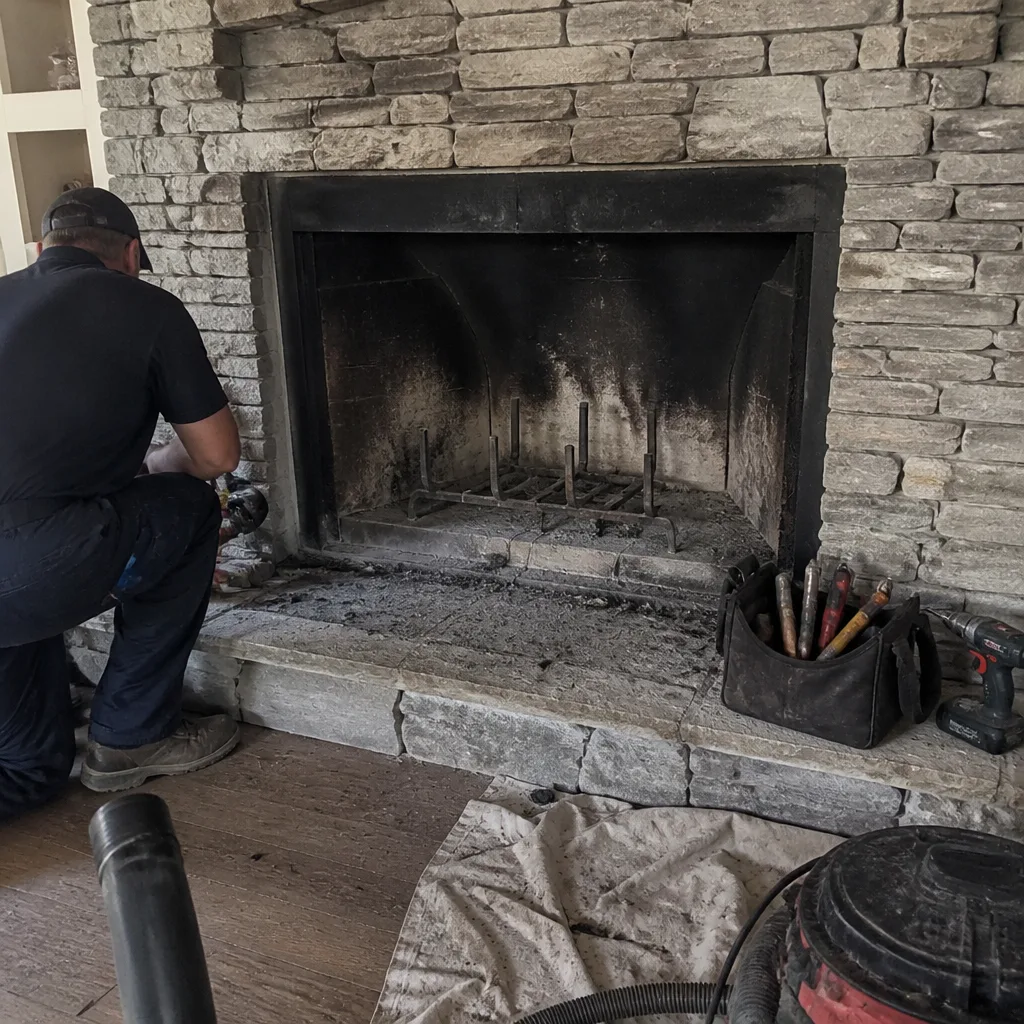 Before
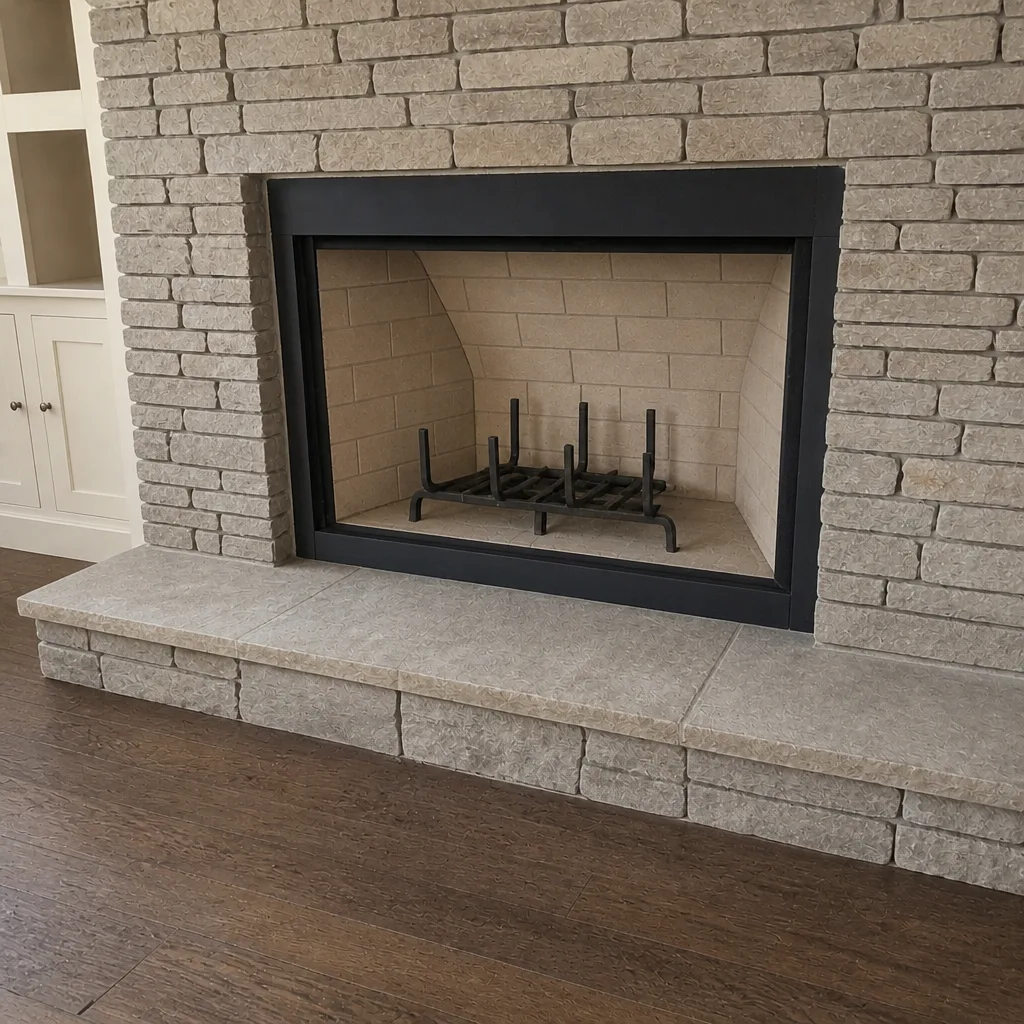 After
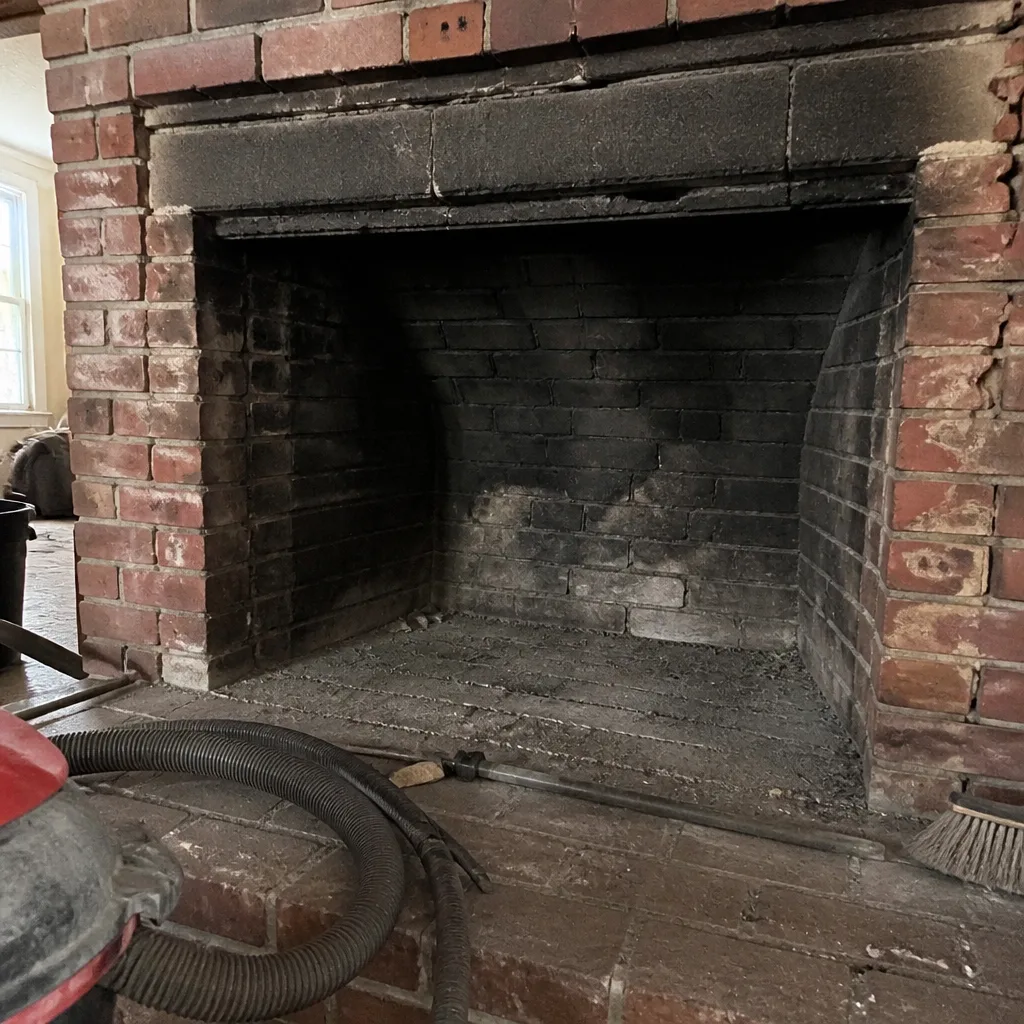 Before
 After
 Before
 After
When to Call a Professional
Call a professional if you notice any of the following: smoke rolling into the room instead of up the flue, a strong acrid smell when there’s no fire, a damper that won’t fully close, rust streaks or soft mortar in the firebox, visiblockage or debris in the flue, cracked or spalling firebrick, or if it’s been more than a year since the last inspection. Also call if a home inspector has flagged the flue; that’s a specific head start for us rather than a guessing game. Denali Chimney Sweep offers free estimates in North Charleston. Call (855) 723-7039 and we’ll help you decide whether you need a sweep, an inspection, or a repair. We answer 24/7. Fast dispatch from 7am to 7pm, Sunday through Friday.
Frequently Asked Questions
Once a year if you burn wood regularly, and more often if you burn frequently or notice a heavy creosote buildup. In this climate we recommend scheduling the sweep in early fall so the inspection is done before the first fire of the season. Call (855) 723-7039 for an exact quote; estimates are free.
Pricing depends on the chimney and whether a camera inspection is bundled in, so we set it per job in a written estimate rather than quote a flat fee. The estimate is free and the final price is confirmed before any work starts. Call (855) 723-7039 to book a visit and get an exact figure.
Only if the camera inspection shows a cracked, deteriorated, or incorrectly sized flue. We never recommend a liner on a hunch. If your flue is intact, you don’t need one, and we’ll tell you so. If it’s not, a DuraFlex flexible liner system is a full reline and not a patch, so it’s a considered decision. Call us to look at the evidence first.
Small issues have a way of becoming structural ones. A cracked crown lets water into the masonry, which over a few seasons can cost you far more than a cap replacement would have. The safety reason is creosote: a heavy buildup can ignite, and a chimney fire is a hazard. We’d rather you catch it with a photo than with a smoke alarm. Call (855) 723-7039.
Yes, and a properly fitted one. In a humid summer, a missing cap lets warm, moist air cycle down the flue and condense on the cooler masonry, which drives the efflorescence and spalling that lead to repairs. A correctly sized cap, such as a Gelco cap, is the simplest way to close that off. Call us for a free estimate on a replacement.
Look for white chalky staining on the brick, rust on the damper or cap, a musty smell from a closed fireplace, or mortar that crumbles when pressed. Those are moisture signals, and they show up most clearly in the days after a heavy rain. Take photos, note the date, and we can tell from the images whether the issue can safely wait or needs a visit. Call (855) 723-7039.
The Bottom Line
The best chimney maintenance checklist for a North Charleston home is not a cleaning reminder. It’s a diagnostic sequence that starts at the exterior, works inward to the firebox and flue, and documents what you find so a specialist can act on facts instead of guesses. Run the exterior checks every spring, look again after the rainy season, and book a professional cleaning and camera inspection in early fall. If you’ve been told the flue needs attention, or you’re seeing the signs in this guide, get a second, evidence-based look. Work from the top down, call when the checks point to a repair, and treat a dollar spent on inspection as the cheapest part of the job. If you have any question about what we’ve covered, call (855) 723-7039 for a free estimate, and we’ll help you figure out whether it’s a cleaning, an inspection, or a repair.
Written by the team at Denali Chimney Sweep.